Roasted Tenderloin of Beef with Bearnaise, "Gene's" Potatoes, Caesar Salad, Fresh bread. A meal fit for the grand new start of a Grand New Year. So nice to have everyone but poor Ben who is working his 2nd of 3 twelve hour shifts. He will be home shortly though and there are plenty of leftovers for him to enjoy. Dessert was a nice Napoleon Torte from the local Lithuanian Bakery. A delicious meal before Brooke had to head to work tonight. Someone, it seems, is always on the move. The life of nurses.
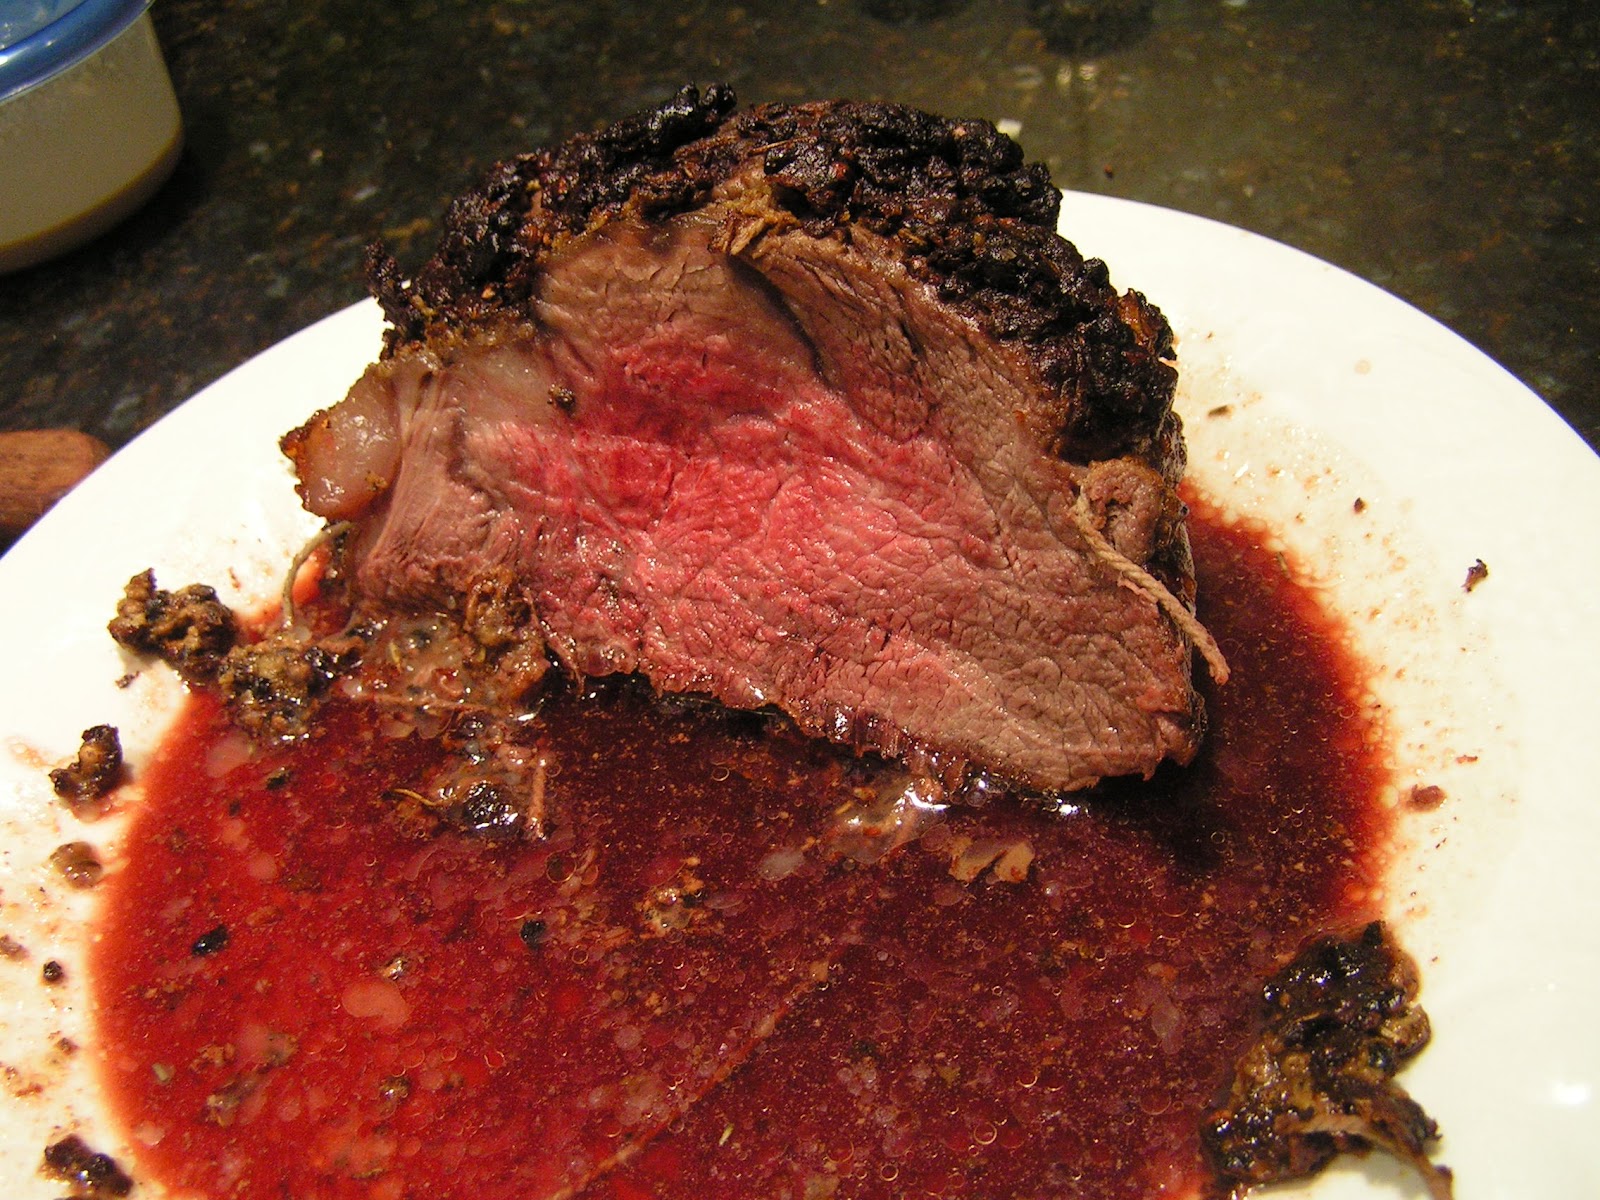
So to start: The Beef
I had a nice 5 pound roast that I tied and seared in a bit of oil. I topped the roast with Dijon, olive oil, peppercorns and rosemary that I stirred into a paste and applied over the roast. Into the oven at 450 for about 35 minutes (meat thermometer firmly in place). I will tell you my new oven is a mess now and the house was a bit smokey. It was at 120 degrees when I pulled it out and reached 135 after 10 minutes of standing. It was perfect.
Now Gene's Potatoes. My Brother in law's brother in law was a chef, perhaps still is. He made these potatoes for some occasion we attended years ago and I have been shamelessly pirating them ever since. I am not even sure if the recipe is anywhere close to his, but I always give him credit. I have used these to cater weddings and dinners for years.
Gene's Potatoes: Basically a very thick white sauce flavored with Swiss cheese.
4 cans of whole potatoes, drained
2 cups of 1/2 and 1/2
1 t beef /chicken bullion
6 slices or more of processed Swiss Cheese
I use a bit of Wondra to tighten up the sauce or 3 tablespoons of cornstarch in 1/4 cup o water. Should be a heavy cream sauce.
Generally I place all the ingredients in a microwave bowl and nuke till the cheese melts. Stirring every minute or so. Thicken with either cornstarch slurry (1 1/2 T per cup liquid) or Wondra (about 1 good Tablespoon)
The sauce should be very heavy cream consistency.
Place the potatoes in a greased casserole. Pour the sauce over the top, cover and bake 350 till heated through (about 40 minutes) Uncover and bake another 15 minutes to get a bit of color on top.
Now if you have never had canned potatoes, I think you are in for a treat. They are petite and creamy. I use them sometimes for really small batches of potato salad.
The Bearnaise Sauce
I can't have this type of meat without a bit of the rich, tart sauce. So tasty.
1 stick of butter
1 tbl lemon juice
3 egg yolks
1 shallot minced
1 teasp of Tarragon
4 T white wine
2 T Tarragon vinegar
Make the Hollandaise first:
Melt a stick of butter in a 4 cup glass measuring cup. Add the lemon juice to the yolks and beat lightly. Get your stick blender at the ready and start blending the butter. To this add the yolk mixture and blend till light and volume increase. Set aside.
To a small saucepan, add the remaining vinegar, wine, shallot and tarragon. Allow to reduce to about 2 tablespoons. Get ready to blend again and with the blender running add the reduced mixture to your hollandaise. Now you have Bearnaise. Makes about 1 1/2 cups.
 |
| Fresh Bread |
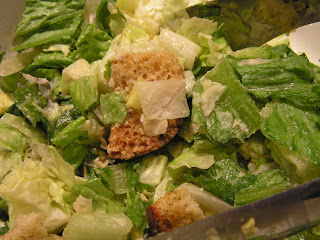
Caesar Salad
I have made this for a long time and always have used this recipe I pulled from Bernard Schimmel's cookbook from the Joslyn Art Museum. Of course, I can't leave anything alone and added a bit here and there.
1 clove garlic, minced
1 t salt
1/2 t pepper
2 t Dijon mustard
2 good squeezes of anchovy paste
1 lemon, juiced
1/2 cup olive oil
2 T tarragon vinegar
1 T Worcestershire sauce
1 coddled egg
1/2 cup Parmesan grated
Again I use the stick blender and the 4 cup measure and just mix it all up there.
2 heads of cleaned romaine
Croutons
Shaved Parmesan